Self-Hosting Appwrite on GCP
Deploy your Appwrite Docker image in easy steps on GCP
Appwrite is a backend platform for developing Web, Mobile, and Flutter applications. Built with the open source community and optimized for developer experience in the coding languages you love. Appwrite offers different services that you need to build your application like Authentication, Databases, Storage, and Functions also provides you with a set of REST APIs, GraphQL APIs, and Real-time APIs to cover all your needs.
One of its major advantages is that it can be self-hosted on any cloud provider of your choice. Appwrite recently launched Appwrite Cloud in Beta, you can check it out here.
You might think when we have solutions like Appwrite Cloud and One-Click hosting, why to even get into the hassle of Self-Hosting Appwrite on different cloud providers like GCP, well these are some points that you should consider while choosing self-hosting solutions.
Customization and Control: Self-hosting offers complete control to customize Appwrite's environment and settings based on specific needs, providing a level of control unavailable in managed solutions.
Data Privacy and Security: Self-hosting enables users to implement robust security measures and encryption protocols aligned with their data privacy requirements and compliance standards.
Scalability: Users can optimize their self-hosted deployment for varying levels of traffic, ensuring seamless scalability and performance.
Cost Efficiency: Self-hosting allows for cost optimization as users manage infrastructure themselves, avoiding potential cost escalations in managed solutions.
Integration with Existing Infrastructure: Self-hosting on platforms like GCP facilitates smooth integration with existing services, enhancing efficiency and workflow alignment.
Geographic Location: Users can choose server locations for compliance and low-latency access, meeting data residency needs and improving user experience.
High Availability and Redundancy: Self-hosting empowers users to design highly available deployments by utilizing multiple availability zones or regions within the chosen cloud provider.
Long-Term Viability: Users can adapt and evolve their self-hosted setup over time, ensuring the longevity and adaptability of their application.
Reduced Vendor Lock-In: Self-hosting minimizes reliance on specific providers, offering flexibility to switch cloud platforms or hosting solutions if required.
The Google Cloud Platform (GCP) is a suite of cloud services that offers server space on virtual machines, internal networks, VPN connections, disk storage, machine language SaaS (Software as a Service) applications, and even something called TPU (Tensor Processing Units). Let's see how you can self-host Appwrite on GCP.
Steps to follow
Appwrite installs as a Docker image whether you are installing it on your local machine for development or cloud servers for production. So let's see the quick steps that we would follow to host Appwrite on GCP. The only prerequisite is to have a Google Cloud Platform account.
Create a VM instance with Ubuntu OS (Linux because these steps can be followed for different cloud providers.)
Install Docker & Docker Compose through SSH (Appwrite requires Docker Compose)
Install Appwrite as a Docker Image.
Test it out
Creating a VM Instance
Go to your Google Cloud Console and create a new Project. Name the project Appwrite Server.

Once your project is created you will get a Dashboard like this.
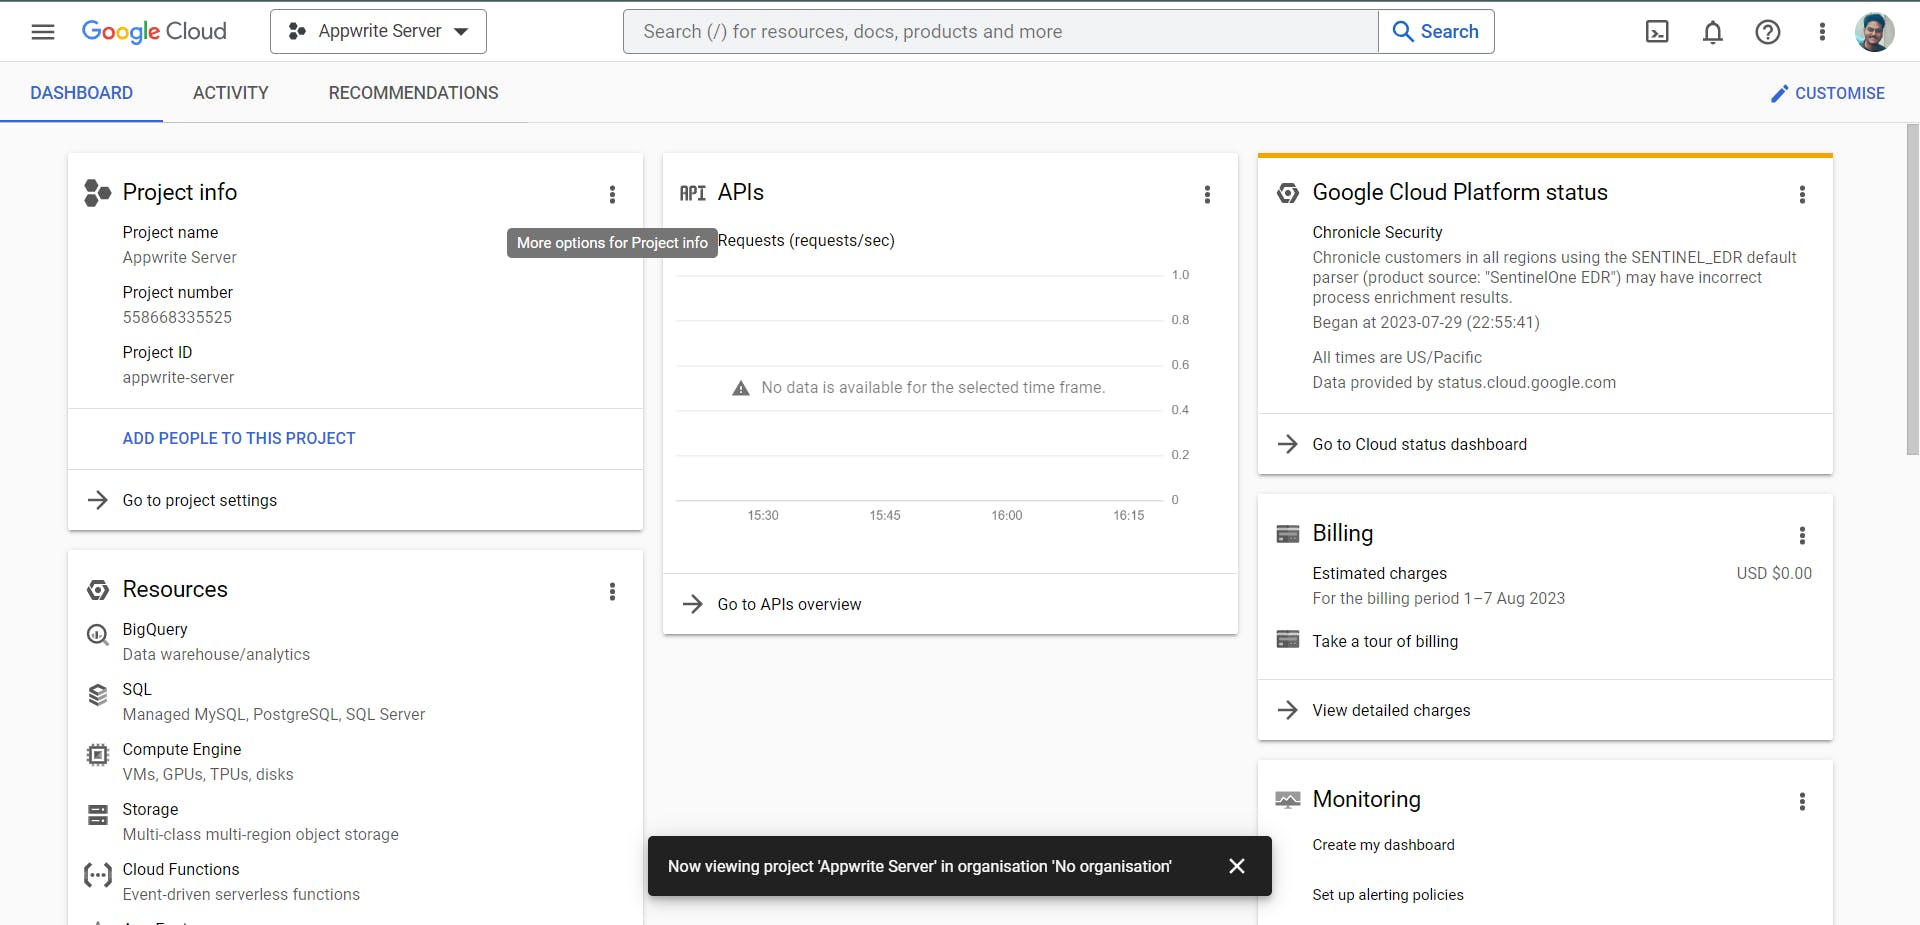
Click on Navigation Menu -> Compute Engine -> VM Instances. You might also need to enable Compute Engine API

Click on this Create Instance button

You will get this Create an instance configuration Dashboard.
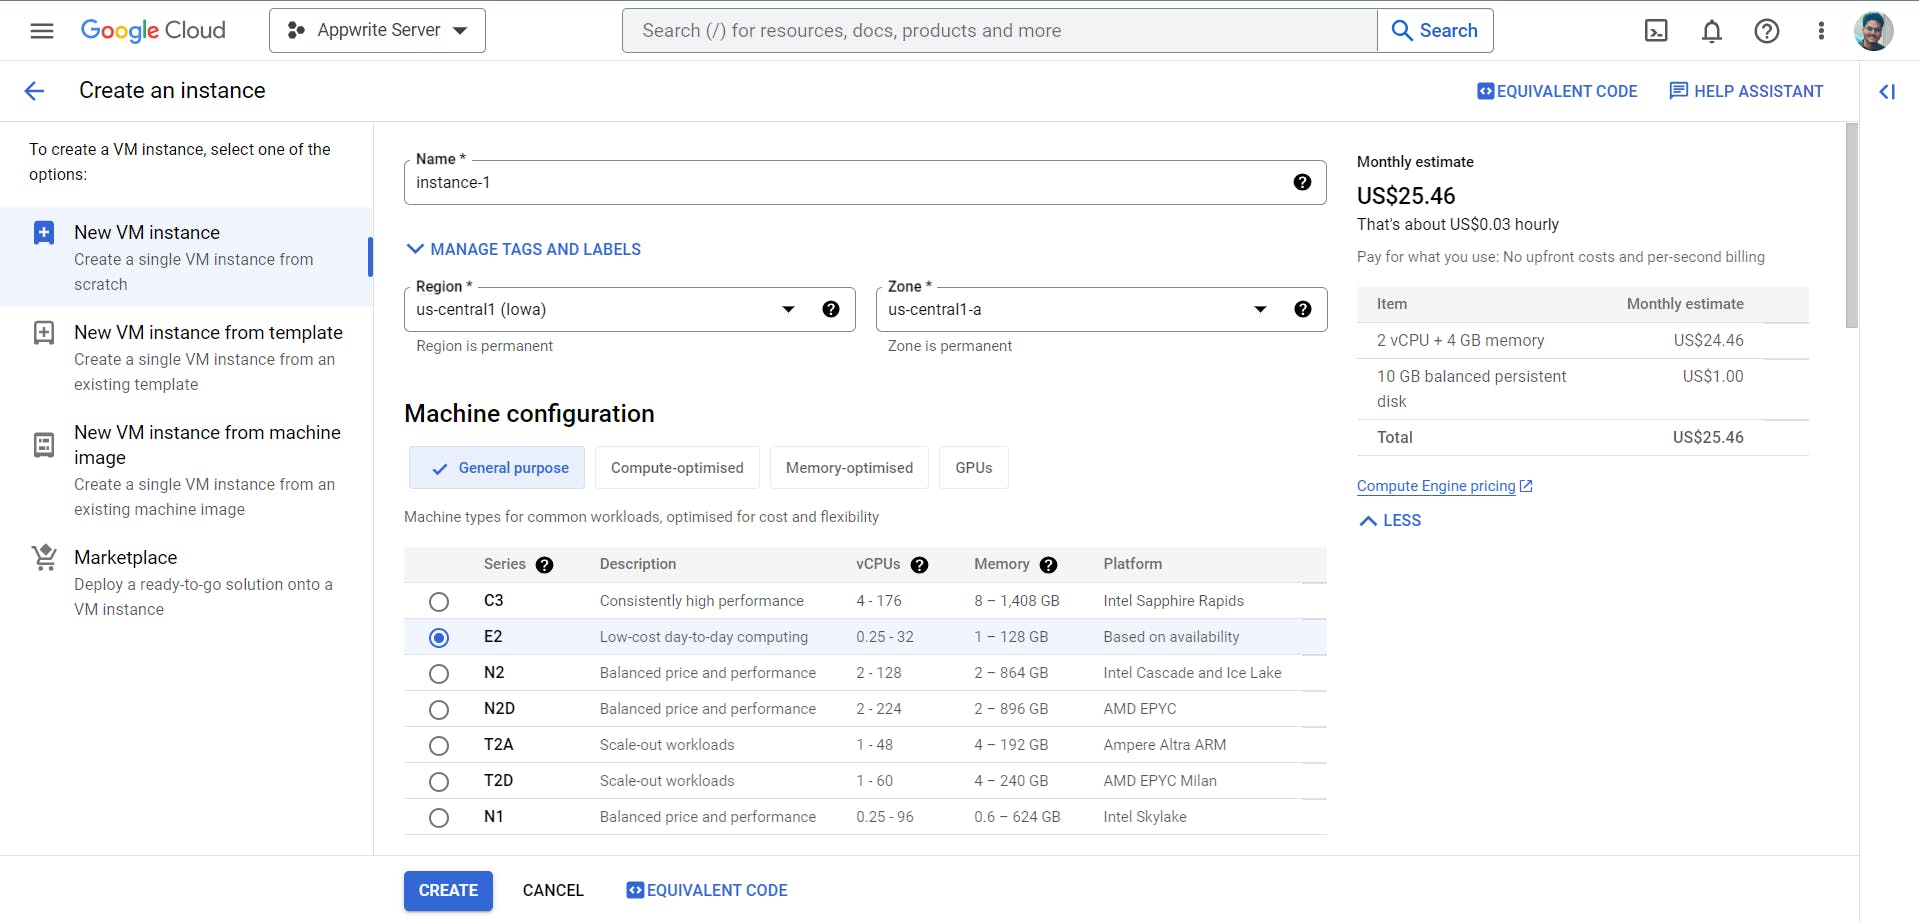
Let's quickly do our configuration for this instance
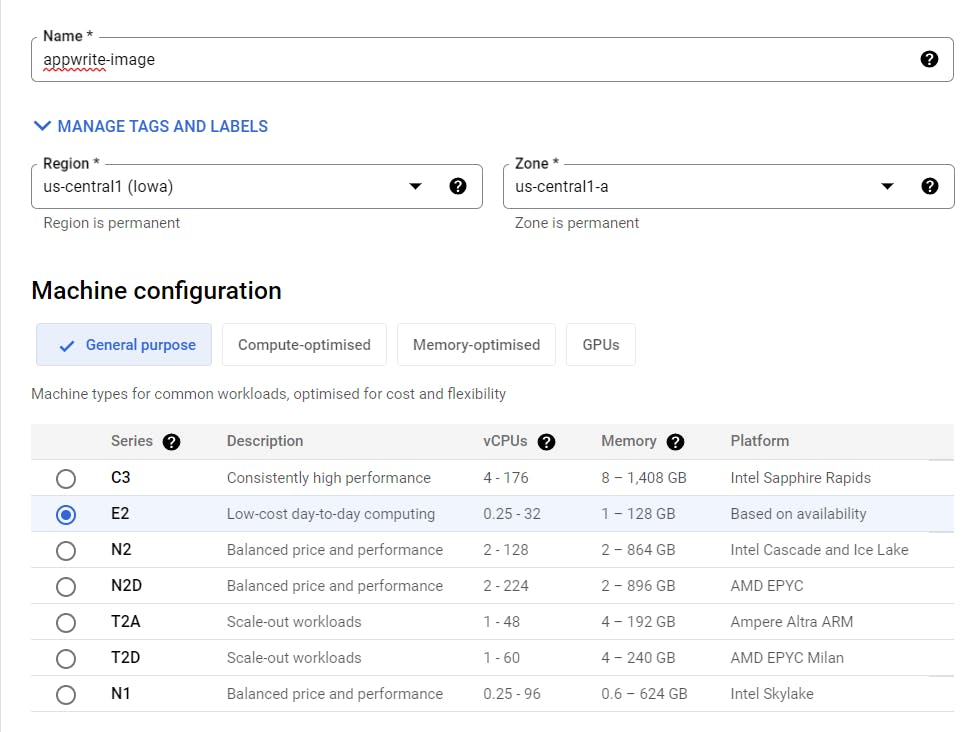
Give the instance a name, I'll name it appwrite-image. Select your preferred Region and Zone. For Machine configuration select the E2 series.
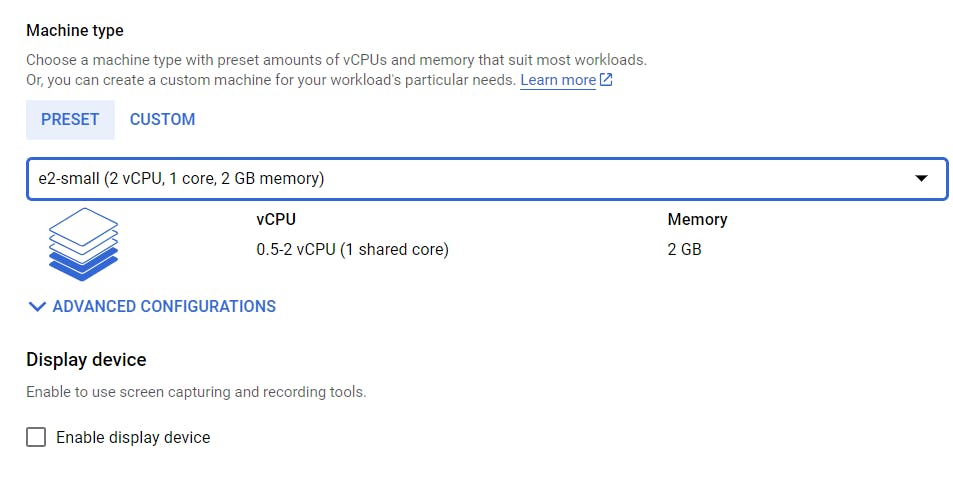
Appwrite recommends using a minimum of 1 CPU core and 2GB of RAM. Therefore, in the Machine type select e2-small.
In the Boot disk section, select the Ubuntu 20.04 LTS image.

In the Firewall options, select Allow HTTPS traffic & Allow HTTP traffic options. After that click on CREATE, and wait until your instance gets created.

Once an Instance is created you will get this page.

Your Instance is created successfully. Let's install Docker on this instance.
Connecting to your Instance via SSH.
We need to connect to our recently created instance via SSH so that we can run Linux commands to install Docker.
Click on your SSH button next to your instance name.

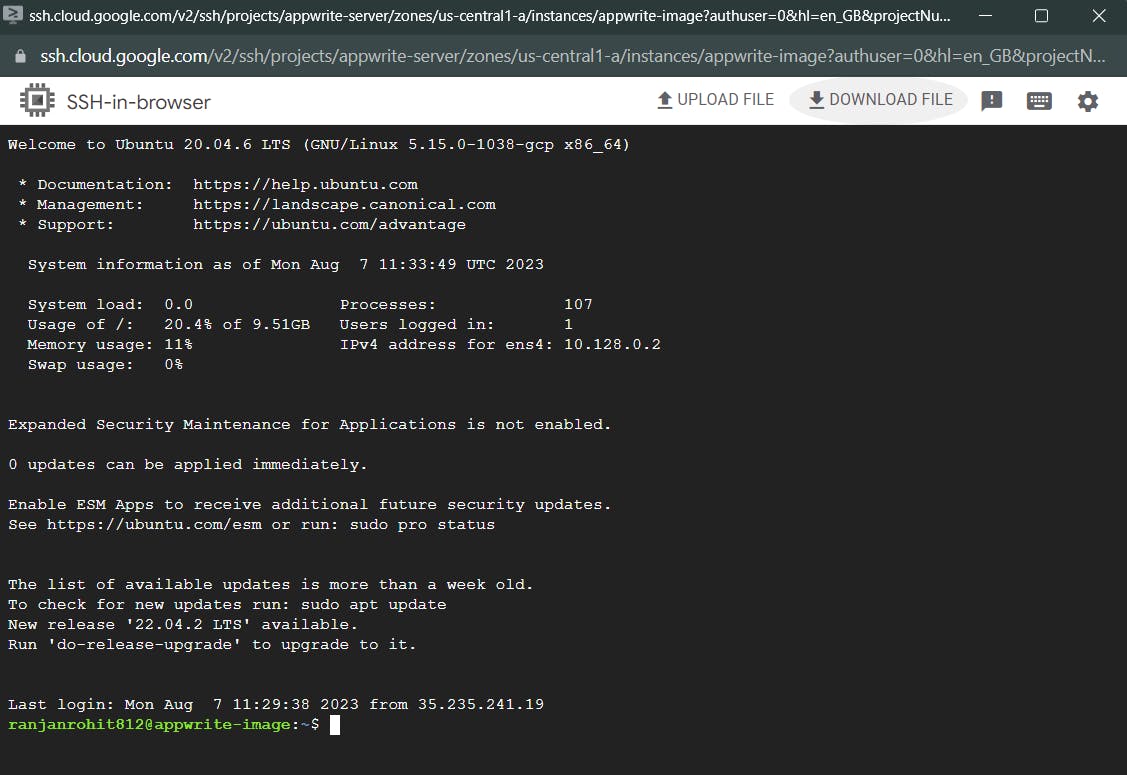
Wait for a few seconds and you will get this SSH window where now we can run our commands to install Docker.
Installing Docker
Let's install Docker using the terminal by running the following commands. Briefly, I will be following these steps from the official Docker docs, you can have a look.
Update the
aptpackage index and install packages to allowaptto use a repository over HTTPS:sudo apt-get update sudo apt-get upgrade sudo apt-get install ca-certificates curl gnupgAdd Docker’s official GPG key:
 sudo install -m 0755 -d /etc/apt/keyrings
 curl -fsSL https://download.docker.com/linux/ubuntu/gpg | sudo gpg --dearmor -o /etc/apt/keyrings/docker.gpg
 sudo chmod a+r /etc/apt/keyrings/docker.gpg
Use the following command to set up the repository:
 echo \
   "deb [arch="$(dpkg --print-architecture)" signed-by=/etc/apt/keyrings/docker.gpg] https://download.docker.com/linux/ubuntu \
   "$(. /etc/os-release && echo "$VERSION_CODENAME")" stable" | \
   sudo tee /etc/apt/sources.list.d/docker. List > /dev/null
Update the
aptpackage index:sudo apt-get updateFinally, install Docker using this command. This will install Docker Engine, containerd, and Docker Compose.
sudo apt-get install docker-ce docker-ce-cli containerd.io docker-buildx-plugin docker-compose-pluginOnce this command is completed run this command to check if Docker is running.
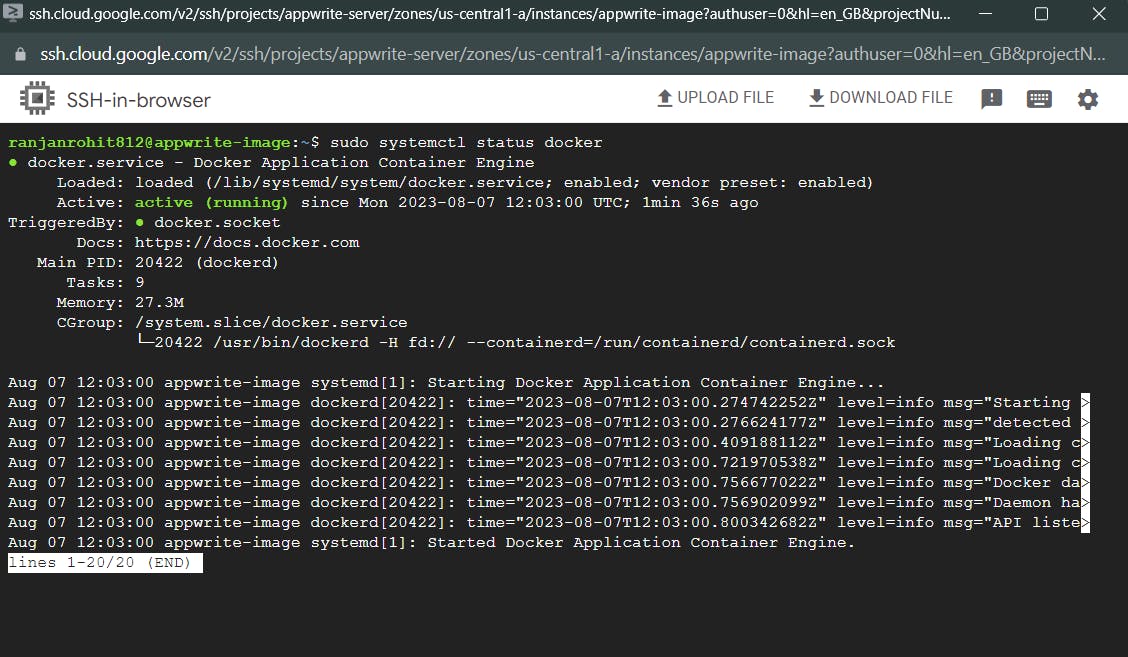
sudo systemctl status dockerYou will get this output and the Docker installation is complete.
Installing Appwrite
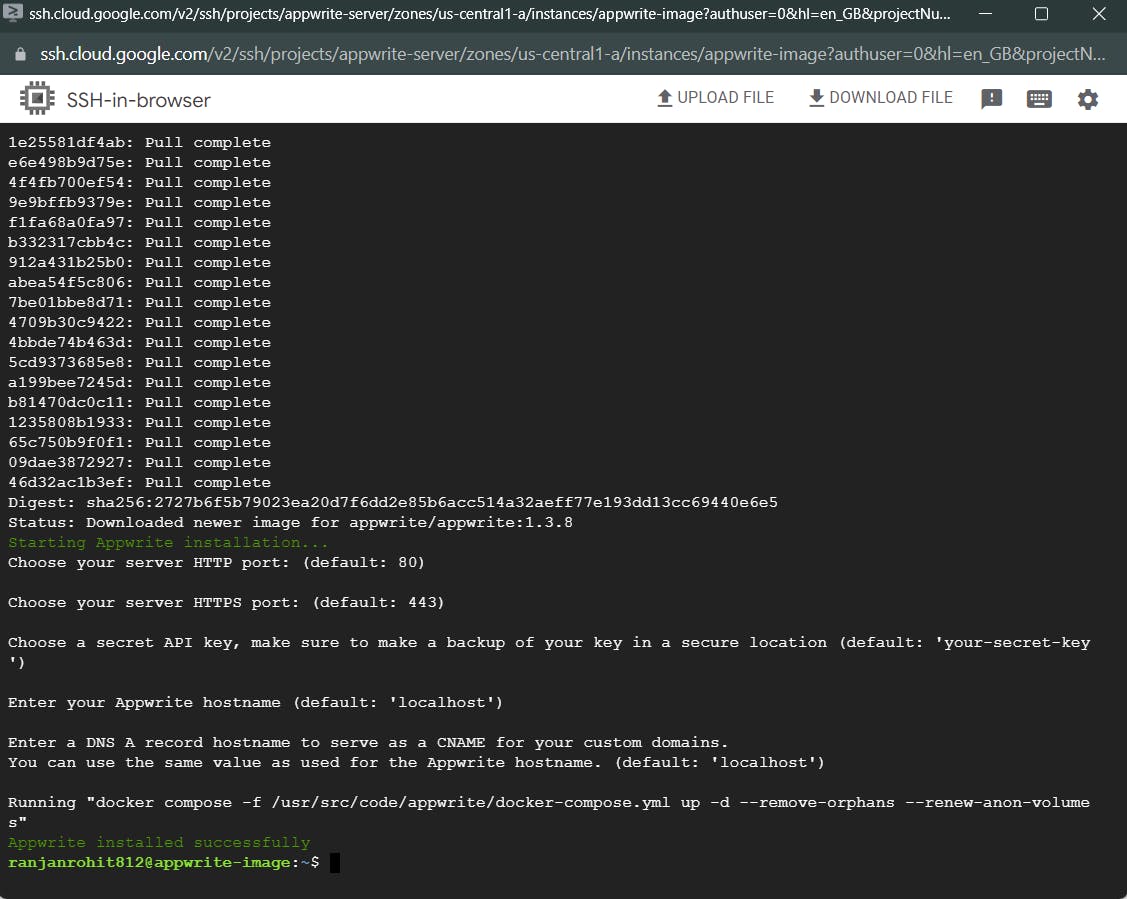
Now it's time to finally install Appwrite. Run the command to pull the Appwrite image through Docker from the official Appwrite Docs.
sudo docker run -it --rm \
    --volume /var/run/docker.sock:/var/run/docker.sock \
    --volume "$(pwd)"/appwrite:/usr/src/code/appwrite:rw \
    --entrypoint="install" \
    appwrite/appwrite:1.3.8
Leave all the configuration options to default or you can change them according to your needs. Once done you will get the message Appwrite installed successfully.
Testing
Beside the name of your instance, you will find an External IP. Open this and you will get a brand new shining Appwrite console page.

Conclusion
Well now your Appwrite image is hosted on GCP, you can go ahead building your awesome project. Need some help with getting started with Appwrite? Check out these resources.
So that's it, in just a few easy steps you have easily hosted your Appwrite image on GCP. Drop your doubts in the comments if you have any.